Authenticate
 Manage Users
 Customize
 Platform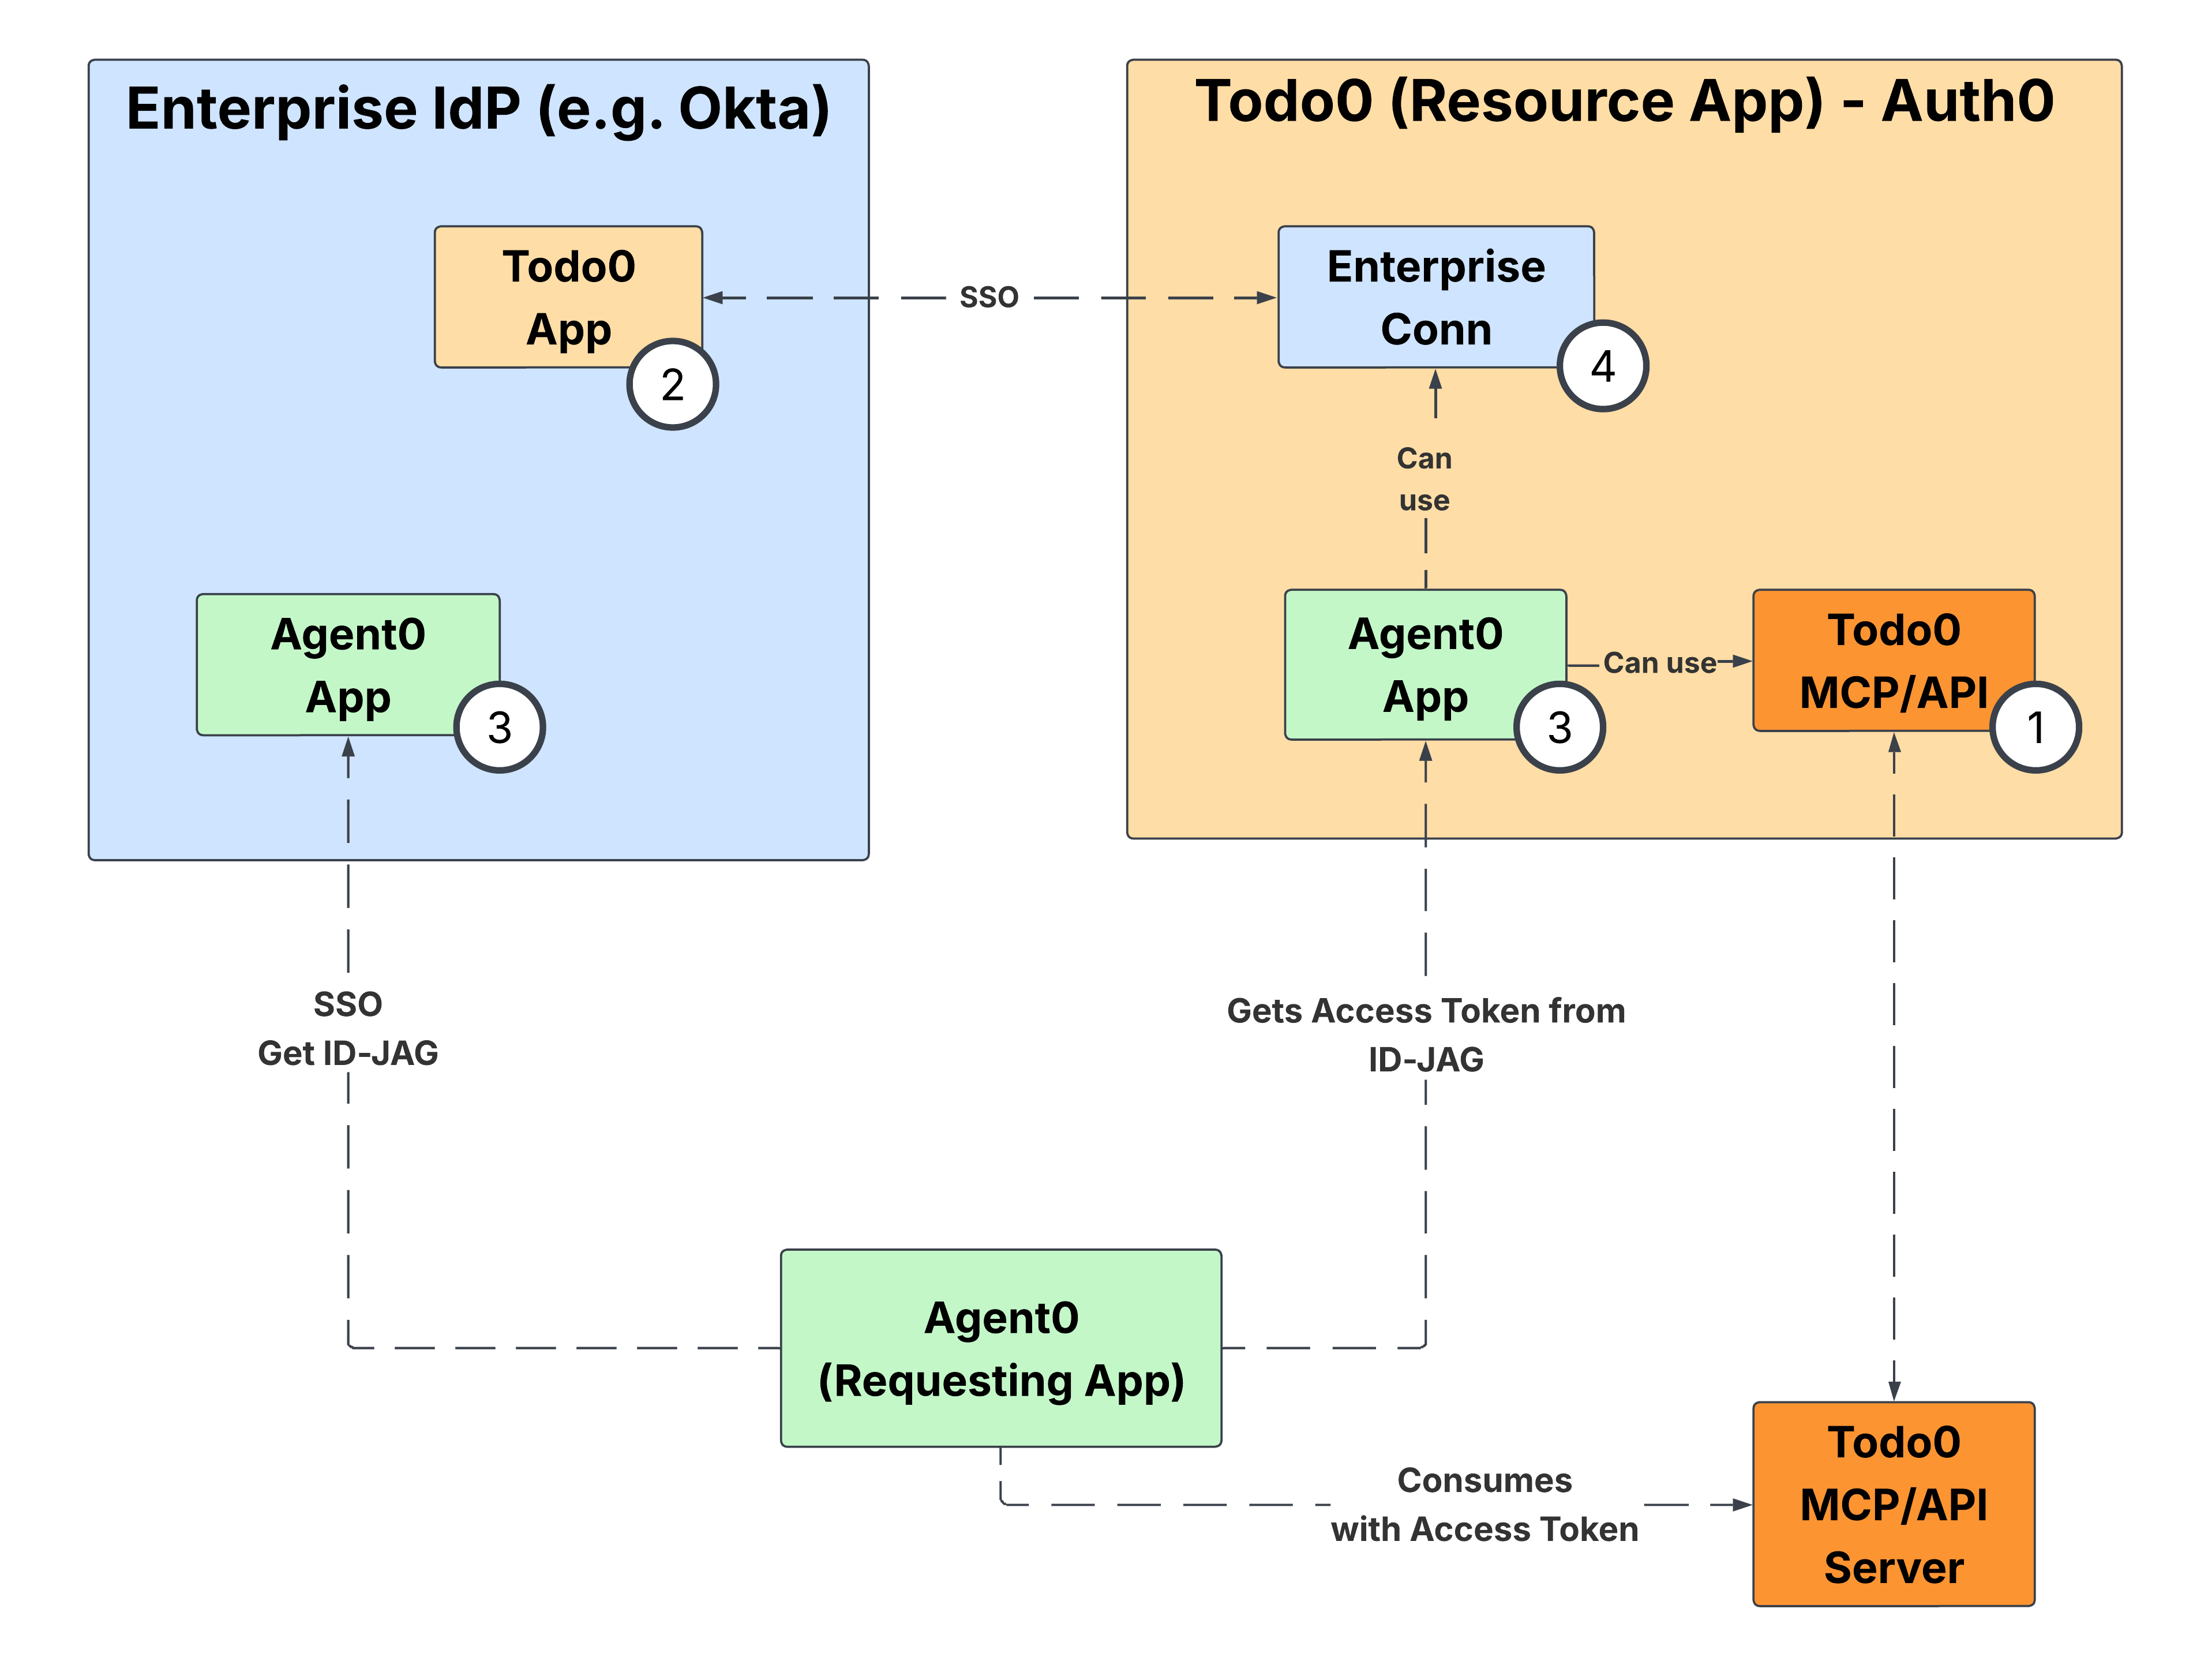
- Configure and register your API in Auth0.
- Configure and register your Resource App: This includes configuring your Auth0 tenant and registering your SaaS application as a Resource App with your enterprise IdP.
- Configure the Requesting App to test the end-to-end flow: This includes registering a test Requesting App in your Auth0 tenant and linking it to your Resource App in your enterprise IdP. To learn more, read Requesting App setup.
- Configure how your Auth0 tenant federates with your customer’s enterprise IdP. For example, if you are testing with Okta, the enterprise IdP will be your Okta test tenant, representing one of your enterprise customers.
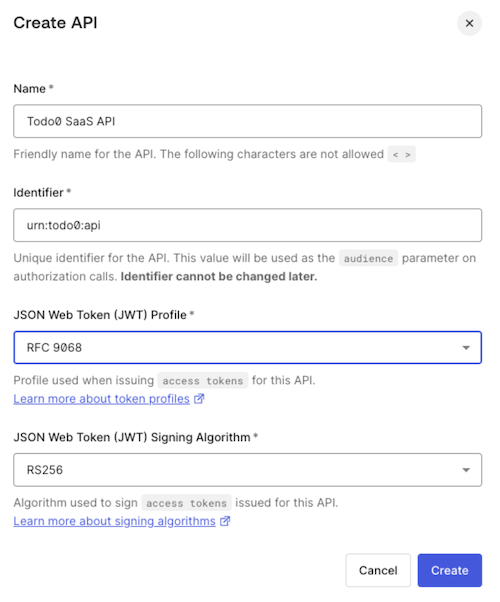
Create the API in Auth0
If you have already created a custom API in your Auth0 tenant, you can skip this section.
Requesting App setup
In a production environment, you configure each Requesting App once to enable its connection with your Resource App.
- Create the Requesting App in Auth0
- Register the Requesting App in the enterprise IdP. Read the applicable guide in IdP Integration for your enterprise IdP.
Create the Requesting App in Auth0
To test the end-to-end environment, create and register an application that behaves as the Requesting App. The following clients are supported:- First-party or third-party clients
- Confidential clients, such as a Regular Web Application
- Public clients, such as a Native App or Single Page Application
- CIMD clients or applications registered via Client ID Metadata Document (CIMD)
- Navigate to Applications > Applications and select Create Application.
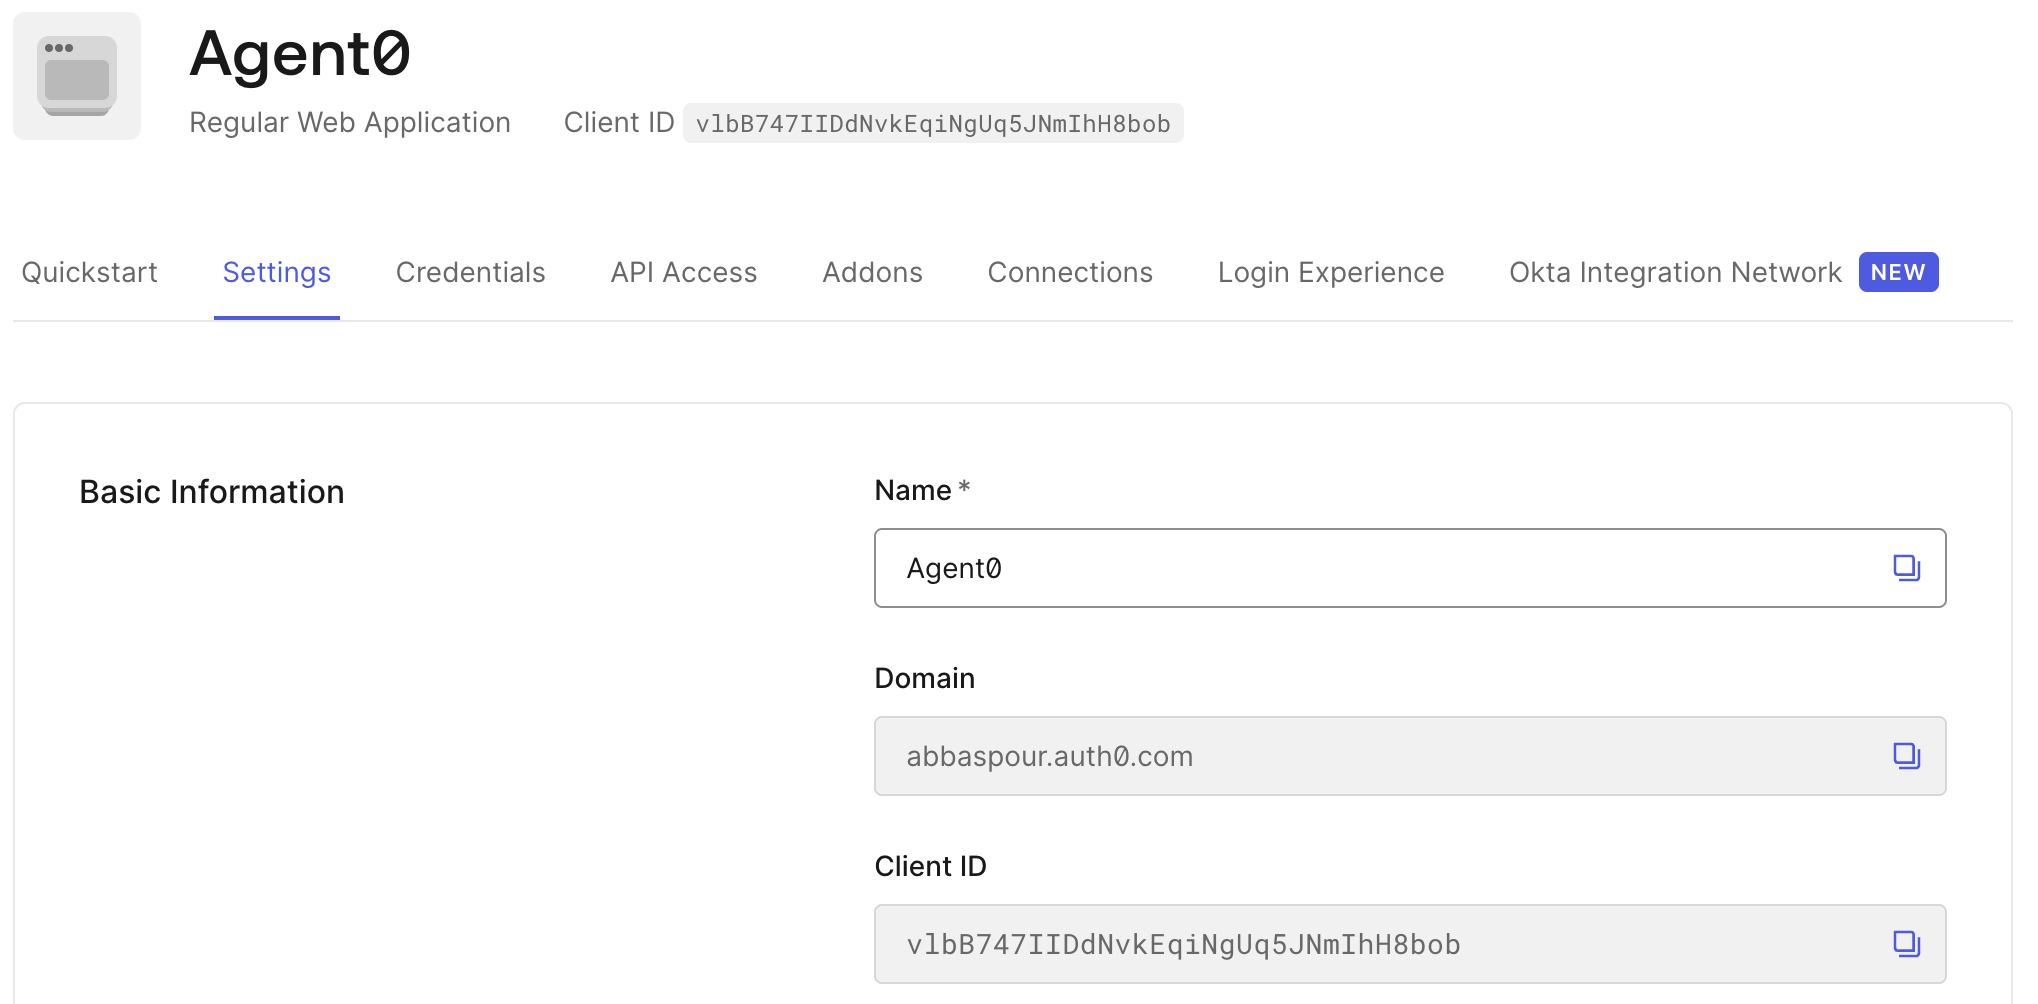
- Enter a name and select Regular Web Application, Native, or Single Page Application depending on the type of application you want to use.
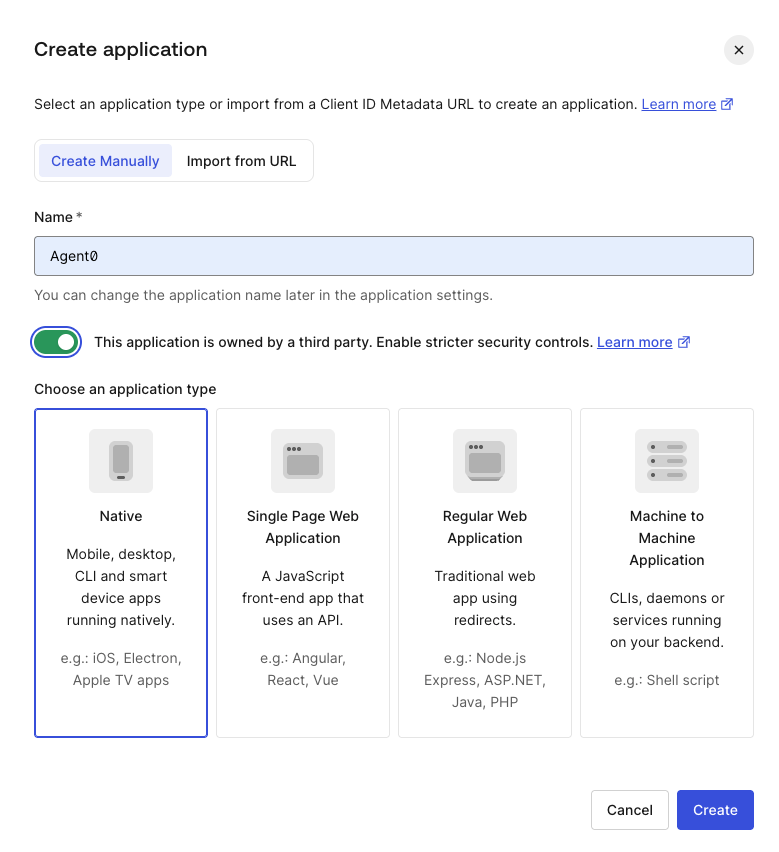
If your application is a third-party application, which is the most common case, you must explicitly configure its API access permissions. To learn more, read Configure API Access Policies.
- In the application details, note the Client ID of the application. This is required when configuring the enterprise IdP. For CIMD applications, use the External Client ID field.
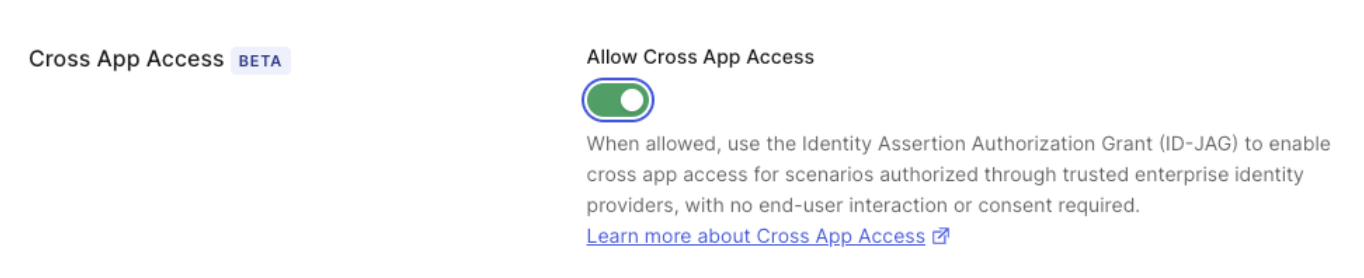
- Once you’ve created the application, scroll to Settings and enable the Cross App Access toggle.